This post is about creating an apt repository to support package distribution for debian and invoking package installation from C#. Although this is specifically aimed at Raspbian this is similar for other debian based operating systems.
This is by no means the only way to create an apt repository, in fact there are tools out there which will handle most of this for you. This post is simply one way to create a repository.
This is part five of a series of posts: click here for the previous post or here for the first post.
What is an apt Repository?
Wikipedia
The Advanced Package Tool, or APT, is a free software user interface that works with core libraries to handle the installation and removal of software on the Debian and other Linux distributions. APT simplifies the process of managing software on Unix-like computer systems by automating the retrieval, configuration and installation of software packages, either from precompiled files or by compiling source code.
Our Use
Our apt repository is used to support distribution of our packages for debian. Where before we generated a cab installer for Windows CE and sent that over via a custom web service call, now we’re generating a deb package (see previous post) and hosting it on a web server which apt understands and can manage.
Creating the Repository
The Server
In order to create the repository we’ll need a host server which is accessible by the local systems. In this the case the server must be accessible over the internet as the devices are located all around the world.
The chosen OS for this server is debian 8 Jessie, simply because this is the latest stable version available and, despite the community’s feelings about Jessie, it’s good to keep with the latest stable version.
Preparing the Server
As this server is used for supporting packages that are in development, in testing and in production we need three different locations within the repository to store these packages. These are named unstable, testing and stable respectively. We will need to create them first.
1 | mkdir -p /var/www/apt/stable/main/binary-armhf/Packages mkdir -p /var/www/apt/testing/main/binary-armhf/Packages mkdir -p /var/www/apt/unstable/main/binary-armhf/Packages |
The next step is to install apache2, this is the web server that will support the packages being distributed over the network. We will need to modify the config file to look at /var/www/apt and also enable the website.
1 | apt-get install apache2 cp -f 000-default.conf /etc/apache2/available-sites/000-default.conf a2ensite apt service apache2 reload |
The above command uses a local file called 000-default.conf which is based on the default conf file that comes with apache on installation. Since this server only hosts our apt repository we can overwrite the default config file, however if your server is serving more than purpose in terms of apache you will need to handle things differently.
1 | <VirtualHost *:80> |
At this point you should be able to navigate to your web server in a browser using the name or IP address assigned and find a display similar to the one below:
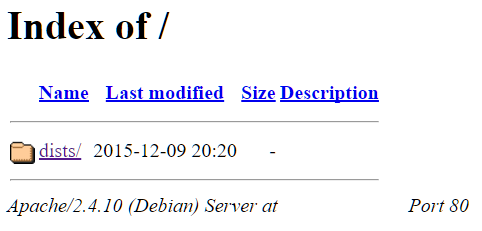
Within the dists folder we should see three more folders: unstable, testing and stable. These folders should be empty.
Adding a Package to the Repository
First we need to install a package to aid us in generating all the necessary meta data.
1 | apt-get install dpkg-dev |
Now we can take a package generated in the previous post and upload it to: /var/www/apt/dists/wheezy/unstable/main/binary-armhf/Packages. Most these folder are missing so you will need to create them. After that you can run the following command to generate the necessary meta data:
1 | rm -f dists/wheezy/$1/main/binary-armhf/Packages.gz |
This will delete the previous meta data, if it exists, and regenerate it. When we later request an updated list of packages from this server via the client this is the file that will be used.
Using the Repository
Updating the Client
In order for the client to be aware of the repository we’ll need to modify our client apt config:
1 | /etc/apt/sources.list |
To append the following server configuration:
1 | deb http://apt.server.com/ wheezy stable/main |
The deb key word tells our client this is where packages are stored, followed by the address of the server. The key word wheezy refers to our distribution, which takes us into /var/www/dists/wheezy. The next phrase stable/main takes us further into directory stable/main. If we wanted to change the folder layout within our apt repository we would need to change the way we have defined our server here.
Installing a Package
To the install the package we must first update our local client’s apt package cache. This can be done by calling the following command:
1 | apt-get update |
We should see our apt repository name show up as the synaptic package manager updates itself. Then, to install the package, we can run a similar command to the one below:
1 | apt-get install my_package |
This will install a package called my_package. If this name is available from several different repositories we may have a conflict, however for the purpose of our example there shouldn’t be any conflict and our package manager should download the latest package from our repository and install it, executing all the scripts as described in the previous post.
Executed From C
This is a fairly easy step, all we have to do is shell out the above command from C#. To do this we can use the following piece of code:
1 | using (var start = new Process()) |
This will shell out the command sudo apt-get install my_package, this needs to be ran using sudo unless the process executing it is already running as root (which is not advised).
This will return once the execution has completed, however as we are updating the executing package it may not return once its execution has completed as part of the install process for the package may restart the daemon. This is entirely down to how you script your deb package however.