Ever deployed an update to your website but found your changes don’t appear on your website because everything is still sitting in a random cache somewhere? If you’re using Bitbucket Pipelines and Cloudflare then this post should really help you, and if you’re not then the theory should also be helpful.
tldr; for those who just want to know the bit about the actual pipelines pipe
Cloudflare
All of the websites I’m currently working with use Cloudflare edge caching to reduce costs and improve performance for user. For those who are new to edge caches the idea is to cache website content on geographically close servers to users, effectively reducing the latency between the user and content.
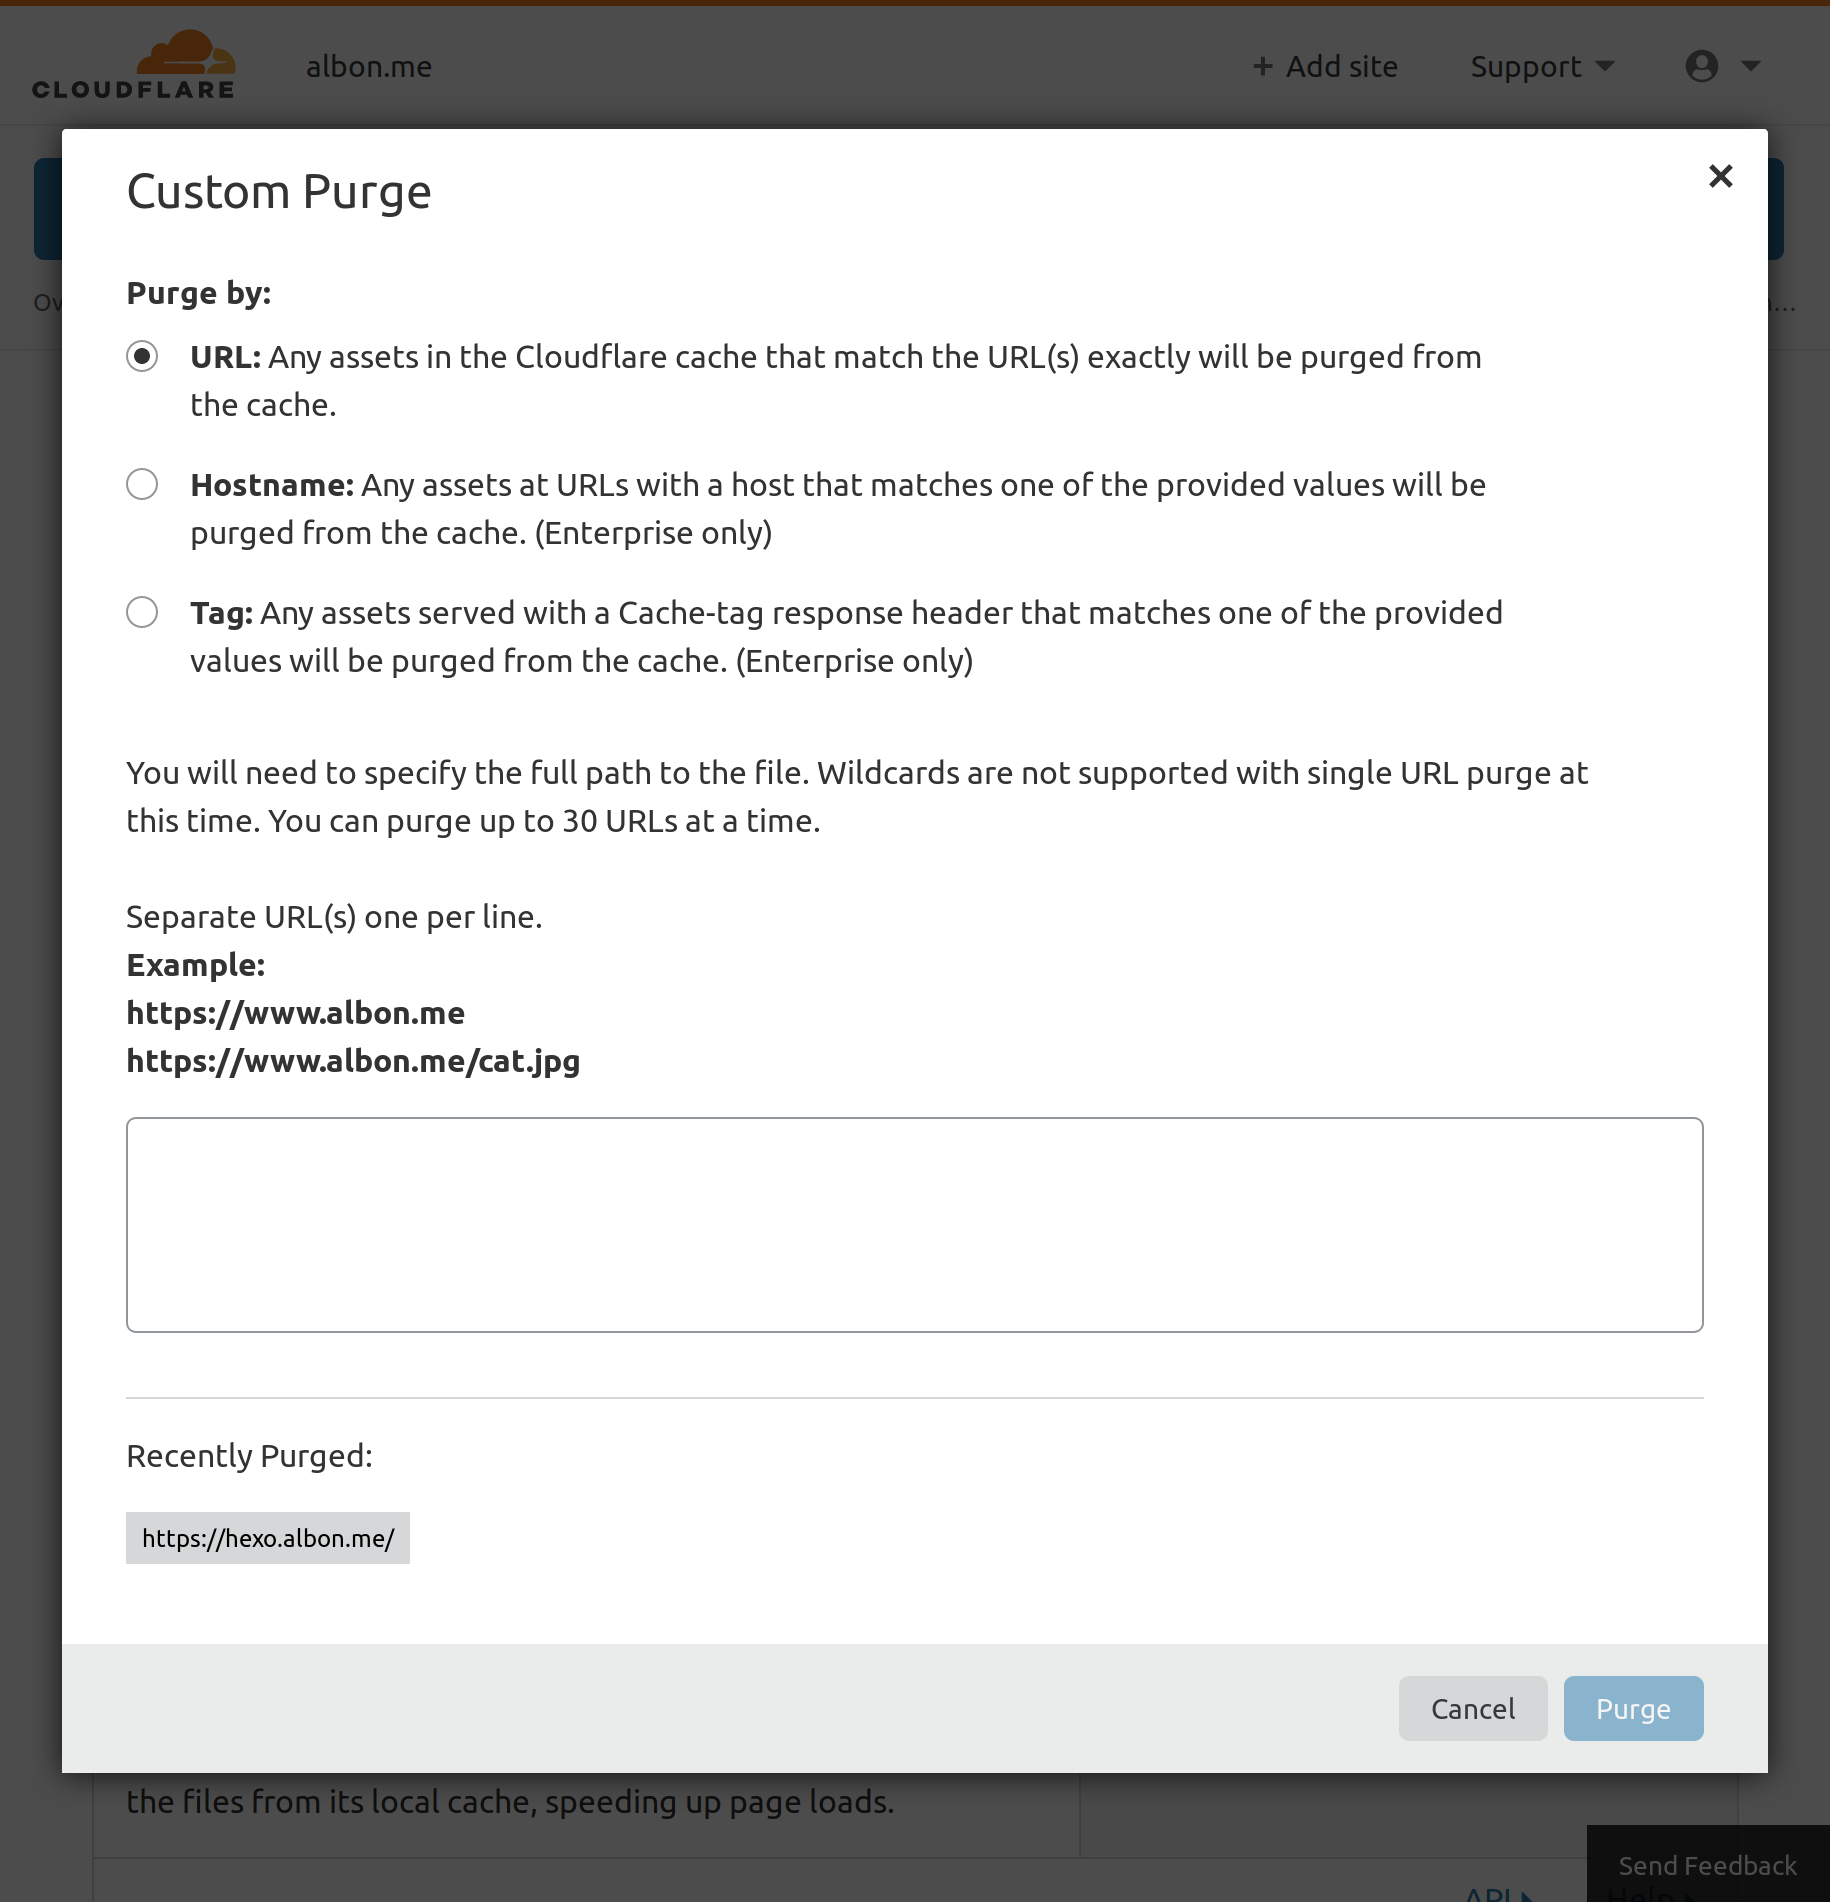
One problem with any cache is waiting for changes to propogate, with the obvious solution of purging part of all of that cache. For Cloudflare this is something you can do manually fairly easily within the UI every time we deploy a change that would affect a website.
Having to do this manually isn’t great, and following the principles of devops everything about a build should be automated.
Automate Clearing with Curl
Cloudflare has an API that we can call the clear cache directly. Below is a call that’ll cause Cloudflare to clear the cache of a particular URL pattern:
1 | curl \ |
You’ll need your Cloudflare account’s e-mail address, authentication key (see below), and zone for the domain in question (see below). There are more complicated cache clear calls, but the above call covers all the scenarios for updating a website.
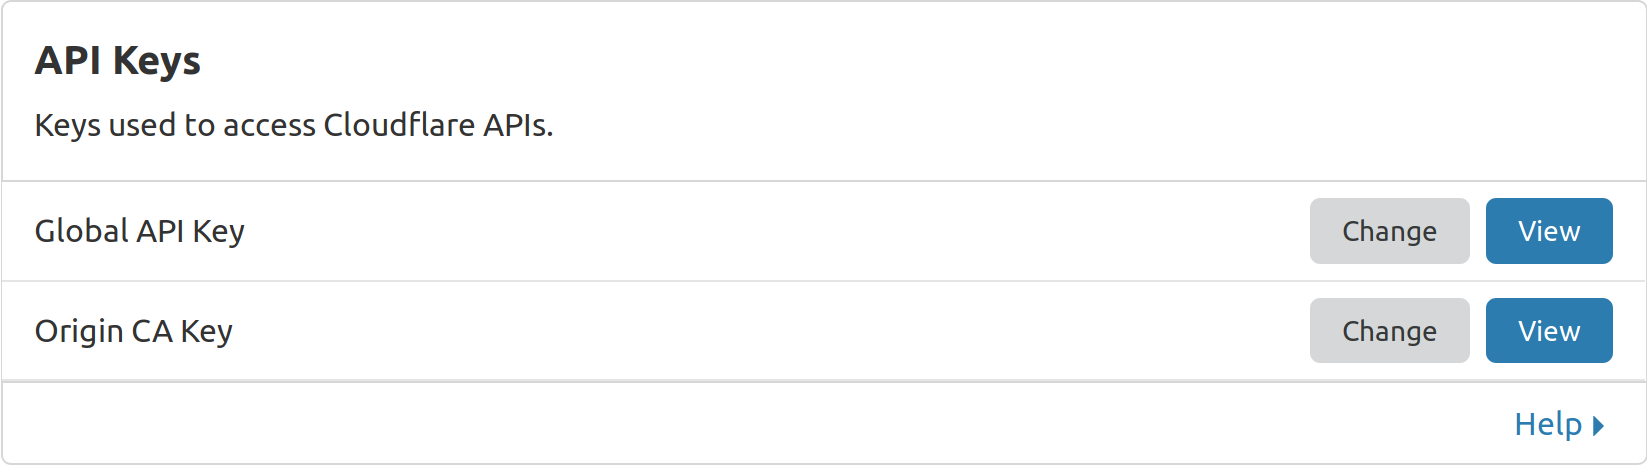
Authentication Key
To find your account’s authentication key you need to navigate to My Account, then select the tab API Tokens, then select View for Global API Key. You should be asked to re-authenticate with your password, then you should be presented with your authentication key.
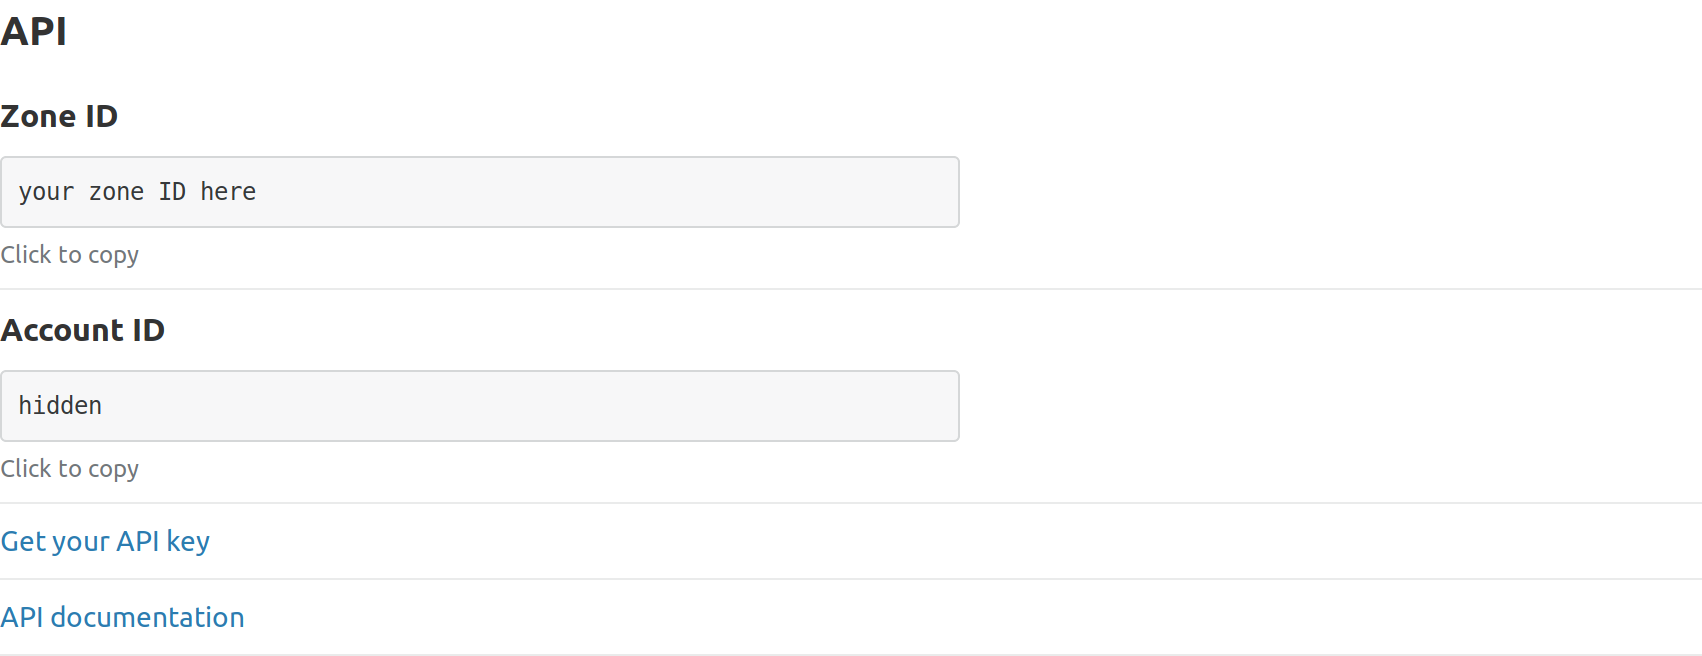
Cloudflare Zone
To find your domain’s site ID you need to navigate to the overview tab of your domain and scroll down to the section marked API, then copy the field called Zone ID.
Automate Clearing with Bitbucket Pipelines
So far we’ve managed to clear our cache using curl, but in order to actually automate this we need to call this during Bitbucket Pipelines; there are two ways to achieve this: first we can add the above call to our Bitbucket Pipelines yaml after deployment, or we can use a Bitbucket Pipelines pipe and let that image deal with the problem for us.
Bitbucket Pipelines Pipes
For those who haven’t come across pipes before, the idea is that they encapsulate reusable functionality in a small container that can be reused across your deployment.
1 | script: |
Above shows the example of a Bitbucket Pipelines build pushing a notifcation to Slack by using a pipe. This example is a pipe provided by Atlassian, however anyone can write a pipe and use it in their build.
Cloudflare Cache Clear Pipe
So rather than including a call to the Cloudflare we can use a very simple pipe to handle that call for us. Below is a extract, from my own Bitbucket Pipelines yaml, that shows how we can clear our Cloudflare cache without worrying about hand-writing our curl command:
1 | script: |
So long as your Cloudflare credentials are available in your Bitbucket variables, either repository or deployment variables, and your URL is correct this will clear your Cloudflare cache during build.
For anyone interested in the source code it’s freely available on Github here. For any questions or comments feel free to message me either on Github or Twitter.